A fresh sealcoat can make an aging driveway look cared for again, but appearance is only part of the job. The real value comes from protecting asphalt against water, sun, vehicle fluids, and the freeze-thaw weather common across Poughkeepsie and the Hudson Valley. This driveway sealcoating preparation checklist helps homeowners and property managers get the surface, schedule, and access ready for a durable result.
Sealcoating is not a cover-up for every pavement problem. It works best on sound asphalt that has been cleaned, repaired where needed, and allowed to dry properly. A little preparation before the crew arrives helps prevent delays, protects your property, and gives the sealer the conditions it needs to bond evenly.
Start With the Condition of Your Asphalt
Walk the driveway slowly and look beyond its color. Gray, faded asphalt and small surface cracks are often good candidates for maintenance. Larger problems need attention first. Sealcoat protects the existing surface, but it does not rebuild failed pavement or correct drainage issues.
Pay close attention to cracks. Narrow cracks can let rainwater move beneath the asphalt, where it softens the base and expands during winter freezes. Cracks should be cleaned and repaired before sealcoating, not simply coated over. If a crack has separated widely, has crumbling edges, or continues to reopen after repair, it may point to movement below the surface that needs a closer evaluation.
Also check for potholes, low spots that hold water, alligator cracking, and areas where the asphalt is breaking apart. These conditions may require patching or more extensive repair before a sealcoat is applied. Addressing them early is usually far less costly than waiting until a section of driveway needs replacement.
New asphalt is a separate case. Freshly installed pavement needs adequate time to cure before sealing. The right waiting period depends on the mix, weather, and installation conditions, so ask your contractor for guidance rather than sealing a new driveway too soon.
Your Driveway Sealcoating Preparation Checklist
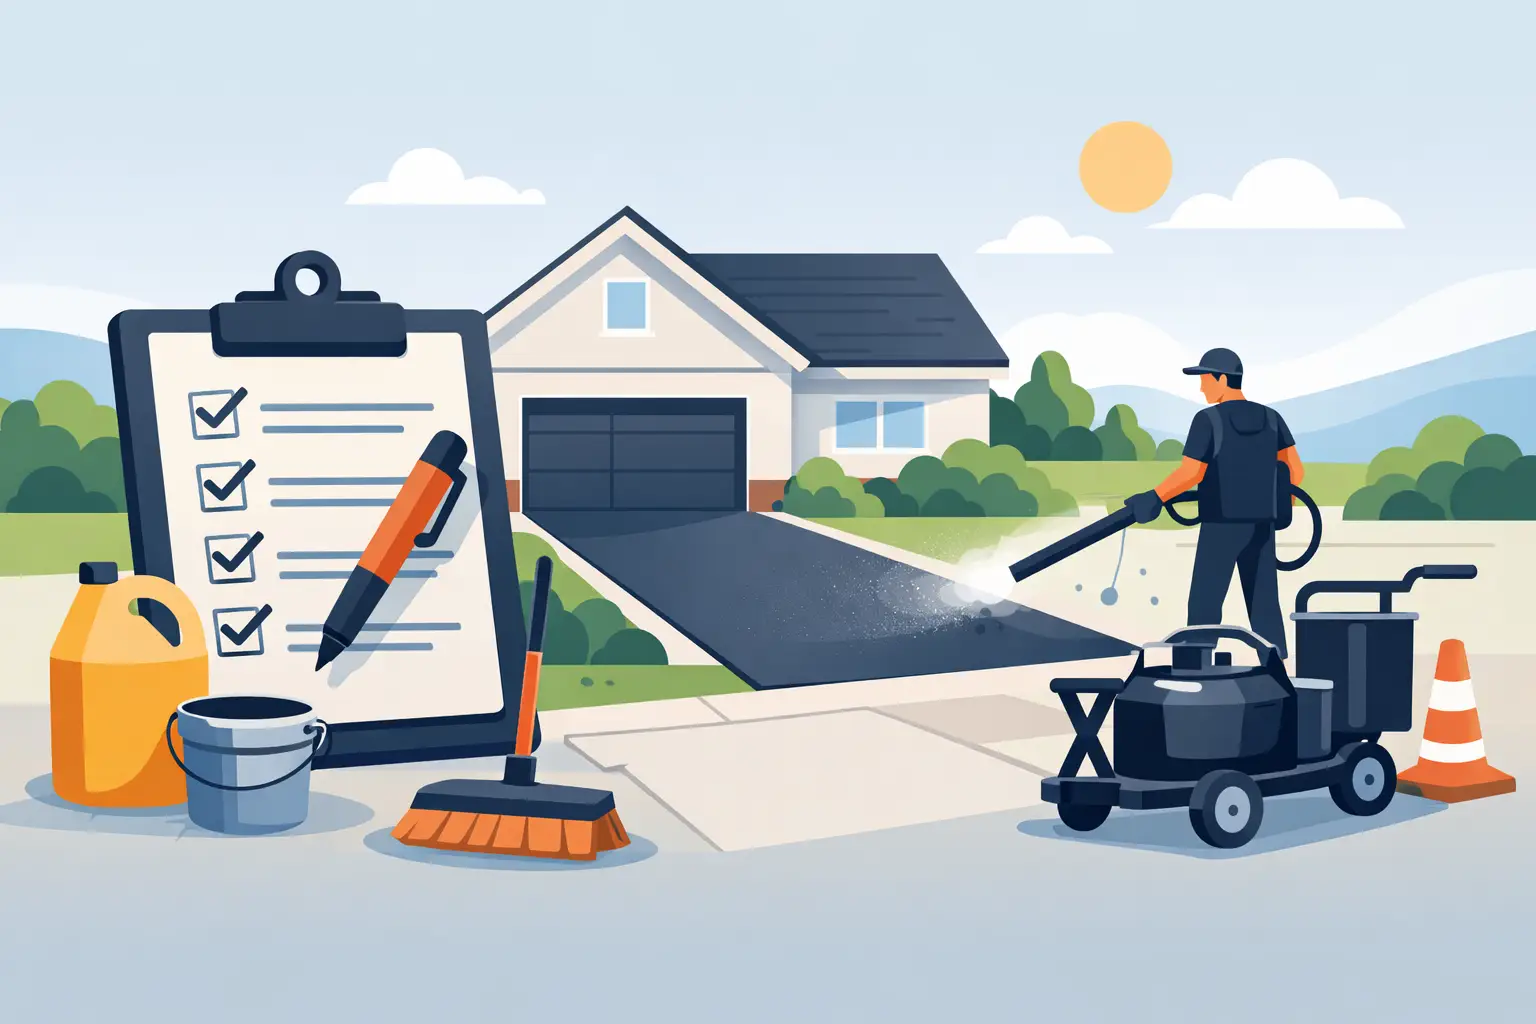
Use this checklist in the days leading up to your scheduled service. The goal is straightforward: give the application crew a clean, clear, dry surface and enough room to work safely.
- Confirm the weather window. Sealcoat needs dry conditions and appropriate temperatures to apply and cure. Rain, heavy dew, or unusually cool weather can affect the finish and drying time. Hudson Valley weather can change quickly, so keep an eye on the forecast and stay available in case scheduling needs to shift.
- Move vehicles well before the appointment. Remove cars, trailers, boats, work equipment, and anything else parked on the asphalt. Plan where vehicles will stay while the driveway is cleaned, sealed, and cured. This is especially important for shared driveways and businesses that need to coordinate employee or customer parking.
- Clear portable items and obstacles. Move basketball hoops, trash bins, planters, lawn furniture, toys, hose reels, and other items from the work area. If a heavy item cannot be moved, point it out before work begins so the crew can discuss the best approach.
- Trim back grass and weeds along the edges. Overgrown grass can hold moisture against the pavement and make it harder to create clean edges. Pull visible weeds growing through cracks and trim vegetation back from the driveway border where practical.
- Sweep away loose debris. Leaves, gravel, dirt, branches, and heavy mud should be removed from the driveway. Professional cleaning is part of a proper application, but clearing large debris in advance helps the crew begin efficiently and prevents avoidable mess around the property.
- Tell the contractor about stains or problem areas. Oil spots, soft asphalt, drainage concerns, active cracks, and recent repairs should be identified before sealing starts. Oil can interfere with adhesion, and problem areas may need special cleaning, primer, crack repair, or patching.
- Keep sprinklers and water away from the surface. Turn off irrigation that reaches the driveway before and after the appointment. Avoid washing the driveway immediately before service unless your contractor requests it. The pavement must be dry for the sealcoat to adhere properly.
- Protect access and communicate with others. Let household members, tenants, delivery drivers, landscapers, and service providers know the driveway will be unavailable. For commercial properties, notify staff and place clear parking instructions where visitors can see them.
Cleanliness Is Part of the Work, Not an Extra
Asphalt sealer needs a clean surface. Dust, loose stones, leaves, and mud create a barrier between the pavement and the protective coating. A professional crew will typically sweep and prepare the surface before applying sealer, but a driveway that has been neglected for months may need additional attention.
Oil stains deserve special consideration. Automotive fluids can soak into asphalt and weaken the bond between the surface and the sealer. Mark any known stains and avoid assuming they will disappear under a dark coating. A stain treatment or primer may be needed, depending on the severity.
This is also a good time to remove loose vegetation from cracks and edges. Weed growth is more than a cosmetic issue. Roots and trapped moisture can widen existing openings and contribute to pavement deterioration over time.
Plan for Crack Repair Before Sealcoating
Crack repair and sealcoating work together, but they do different jobs. Crack filler helps block water from entering open joints in the asphalt. Sealcoat then protects the broader surface from weathering and oxidation. When cracks are ignored, water can continue to work below the sealed surface and create more expensive damage later.
The best repair method depends on the crack. Hairline surface cracks may need minimal preparation, while wider cracks require cleaning and a compatible filler. Deep, broken, or unstable areas may need patching instead. A dependable contractor should explain what the pavement needs rather than treating every crack the same way.
If repairs have recently been completed, ask about curing time before the sealcoat appointment. Rushing the process can affect the finished appearance and performance. The right sequence may add a little time to the project, but it protects the value of the work.
Protect Nearby Areas and Set Expectations
Sealcoating is a controlled process, but preparation around the driveway still matters. Identify concrete walks, garage thresholds, landscaping borders, gates, stone features, and drainage structures near the asphalt. A professional crew works carefully around these areas, and a quick conversation beforehand can prevent misunderstandings.
If your driveway meets a public sidewalk or road, ask how the edge will be handled and whether cones or caution tape will be used during curing. Commercial properties may need a more detailed traffic plan, particularly when entrances, loading areas, or accessible parking spaces are involved.
Expect the sealed surface to look dark at first. That fresh appearance is normal, and the color will settle as the material cures. Drying time varies with temperature, humidity, shade, airflow, and the condition of the pavement. Your contractor should provide clear guidance on when foot traffic and vehicles can return. Do not test the surface early with a car tire, kickstand, or heavy equipment.
Choose Timing That Works for Your Property
For many Hudson Valley properties, the most practical time to sealcoat is during a stretch of dry, moderate weather. The calendar matters less than the actual conditions. A hot, humid day, a cool evening, shaded pavement, or an approaching storm can all change how quickly the coating dries.
Homeowners should consider their daily driving needs before setting the date. If you have one driveway and several vehicles, arrange alternate parking in advance. Businesses should consider customer traffic, deliveries, and employee schedules. A little coordination helps a crew complete the job without interruptions and helps the property return to normal sooner.
It also pays to schedule maintenance before the driveway looks severely worn. Once asphalt becomes brittle, deeply cracked, or structurally damaged, sealcoating alone is no longer the answer. Regular inspections and timely repairs give you more options and better control over long-term costs.
Work With a Local Crew That Prepares Properly
A good sealcoating job begins before the first coat is applied. Ask what cleaning, crack repair, edging, and drying steps are included, and make sure you understand the access plan for the day of service. Clear communication is especially valuable when weather forces a schedule adjustment.
Exodus Proseal serves property owners throughout Poughkeepsie, Dutchess County, and the wider Hudson Valley with professional asphalt sealcoating and crack repair focused on durable protection. The right preparation, careful application, and patience during curing can help your driveway stay cleaner, stronger, and more presentable through the seasons ahead.
When your asphalt is ready for attention, do not wait for small cracks to become a larger repair. A clear driveway, a dry weather window, and a properly prepared surface are simple steps that help protect one of the hardest-working parts of your property.
Leave a Reply